A text reveal animation is a stylish and sophisticated way to elevate the visual appeal of your website. By incorporating this dynamic effect, you can create an engaging experience that captures your visitors’ attention and leaves a lasting impression. With the help of this Showit code snippet and step-by-step tutorial, you’ll learn how to seamlessly add a text reveal animation to your Showit site, making your content stand out and giving your website a polished, elegant touch.
I developed this code while working on Garrett Maynard’s website, branded and designed by the incredible Tessa Love of Bella Maven Studio. Her exceptional creativity and refined artistry brought the site to life, and the animations added an extra layer of sophistication, enhancing the overall visual appeal. Be sure to explore his stunning website here.
Requirements:
Before diving into this tutorial and implementing this Showit code snippet into your website, it’s important to first install the Intersection Observer JavaScript code on your website.
This code ensures that the animation triggers only when the element comes into view on the user’s screen, creating a smooth and efficient experience. If you’re unfamiliar with how to set this up, don’t worry! You can follow this detailed, step-by-step guide to adding the Intersection Observer JavaScript code here. This foundational step is crucial for making your text reveal animation work seamlessly.
Update Js Code and Add the Core Css Code

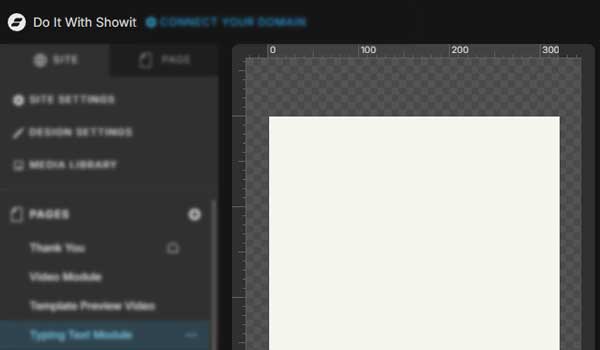
1. Click on your site name at the top left hand side corner to open your Site Settings.

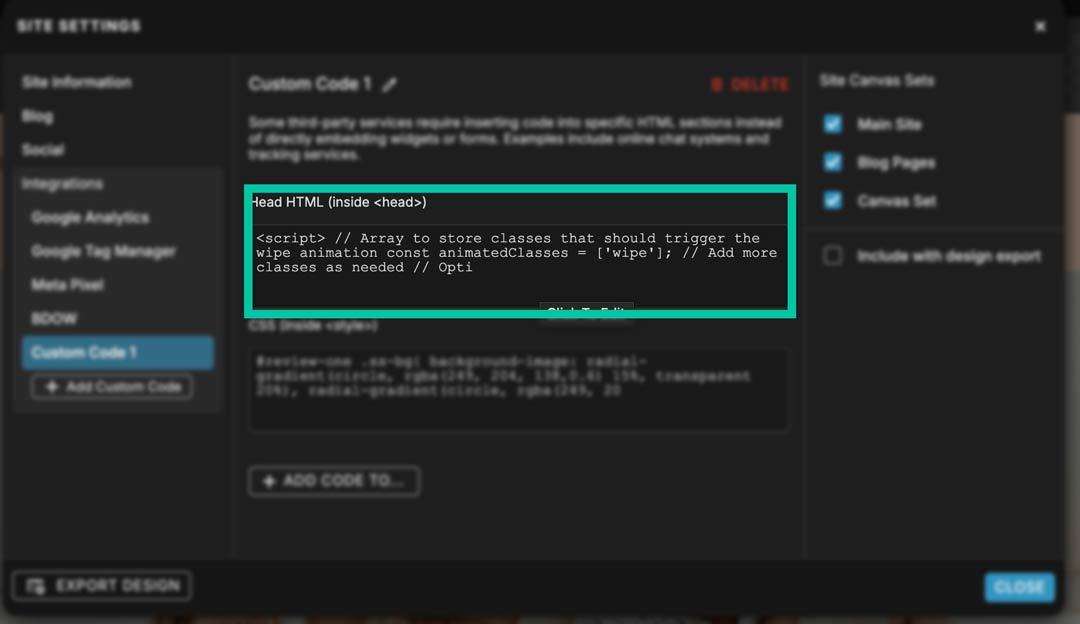
2. If you have followed the tutorial on adding the Javascript Intersection Observer and have successfully added the code through your site settings, you will see a “Custom Code 1” Option under the Integrations menu. Click on it.

3. Here you will see a “Head HTML” text box. That already contains the Javascript Intersection Observer code. Click on it to open the editor and in line #2 you will see this:
const animatedClasses = [];
We will add in our animation class within these brackets here, so that our Observer knows what animation to trigger. Simply add ‘wipe’ within the square brackets which will make the line look like this:
const animatedClasses = ['wipe'];
If you have another animation classes added to this square bracket, separate the animation names with a comma, for example:
const animatedClasses = ['wipe', 'jump', 'fadein'];
Once you have made the change, click save.

4. Once you have updated the Javascript Observer code and saved your changes, you will be back on the above screen. Click on “ADD CODE TO…” and then click on “Add CSS to the head” option.

5. A CSS text box will populate. Click on the box to open the code editor, and paste the following code inside this box. If you already have some css from other animation tutorials here, simply paste this code on a new line.
@keyframes wipeIn {
  0% {
    opacity: 0;
    clip-path: inset(-20% 100% 0 0);
  }
  100% {
    opacity: 1;
    clip-path: inset(-20% 0 0 0);
  }
}

.wipe {
  opacity: 0; /* Start invisible */
}

.wipe.animate {
  animation: wipeIn 2.2s ease-in-out forwards;
}
Add Animations to Elements

Click on the element that you want to animate.
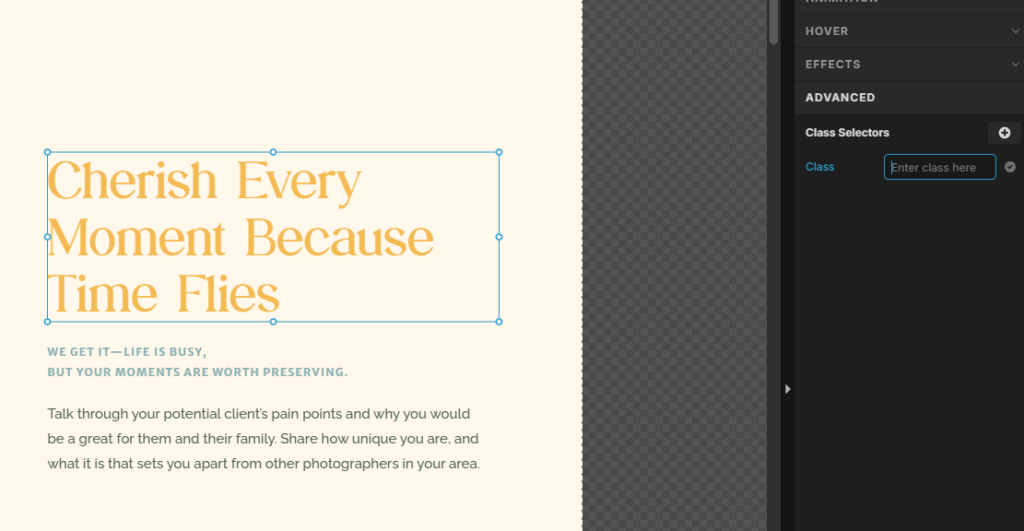
On your right hand panel, click on the ADVANCED option. Click the small “+” [plus] icon next to “Class Selectors” and start adding your class names.
All you need are these three class names. You can copy and paste these class names under Class Selectors.
Remember, only one class name per entry. Add in once class name, click on the check (✓) icon. Then click on the (+) icon to add the second class name
observe
Adding this class to your text box makes sure that the Observer Javascript code watches any element with this class and detects when that element is on screen.
wipe
This class name adds the animation to the element you want to animate.
wait-xxx
*this is an optional classname
Want to add an animation delay? This optional class name adds a delay to the animation. just use a numeric value for milliseconds in place of xxx.
For example, “wait-500″ adds a delay of 500 milliseconds, ”wait-1500′ adds a delay of 1500 milliseconds.
For reference, 1 second = 1000 milliseconds.
Once the class names have been added they will look something like this:

That is it!
You have now successfully implemented this Showit code snippet for text reveal animation. Save your changes and preview, and watch the animation in action!
*Pro tip 1: If you see the text cut off at the bottom, try increasing the height of the box in the builder to the point where the text is fully inside the box. This sometimes happens while using script fonts.
*Pro tip 2: This can be used not only with text boxes, but with images too! Try it!
Incorporate even more animations!
Now that you have the Intersection Observer Javascript installed, you can now incorporate more advanced animations to your website!
This repository will keep updating as I develop more animations.
