It’s the little things that stand out. Marquee buttons do not only have a visual but also a functional impact. They look great, and can also fit a longer button text in one line instead of having you increase the size of the button to fit a 2 line CTA or button text (especially on mobile design).
Here is an example of what we are going to build today:
Click on the button below
This tutorial will show you how to create a marquee button in ShowIt.
Step 1: Create a regular button.
Unless you are completely new to Showit, you already know how to create a button. Add a rectangle, and add a text box on top of it.
If you need help creating a button, you can follow a very comprehensive tutorial on ShowIt docs here.
You can also go ahead and set the click action for your button.
Step 2: Set the size for your text box and open its HTML editor.
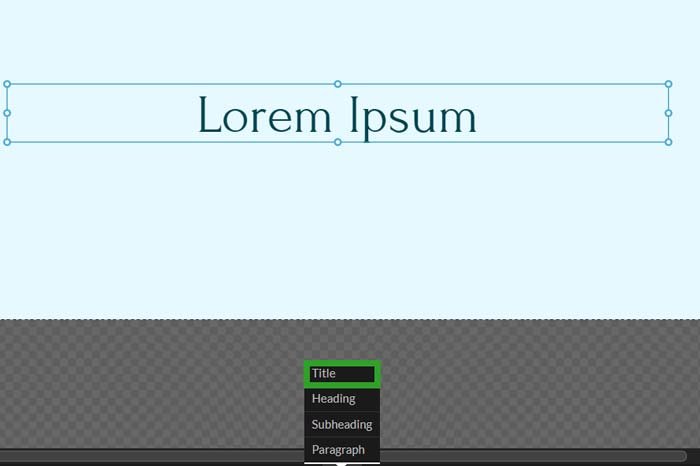
You are free to use a paragraph box, a subheading, a title, or a heading box – whatever is part of your workflow when you create buttons.
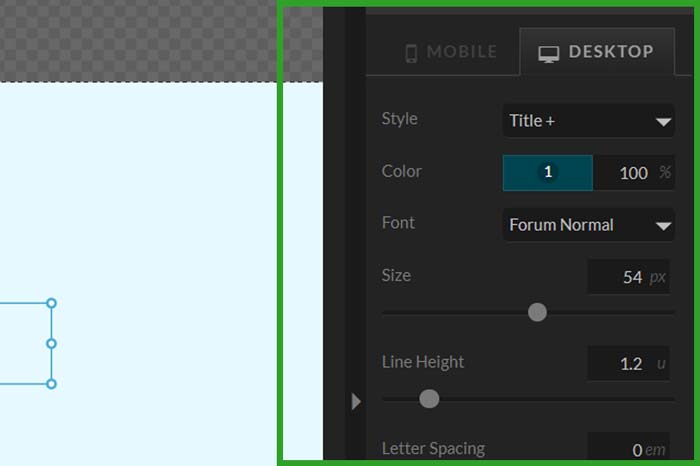
Set the width and height for your text box. Take note of the width you have set – this will come in handy in the next step.
ALT + Double-click on your text box, and it will now open its HTML Editor.

Step 3: Copy and paste the code, and add your text.
Replace the text currently inside the HTML Editor, with the code below:
<div class="marquee">
	<span>YOUR CUSTOM TEXT HERE. IT CAN BE AS LONG AS YOU NEED IT TO BE</span>
</div>
<style>
.marquee {
    width:YOUR TEXT BOX WIDTH FROM STEP 2;
    white-space: nowrap;
    overflow: hidden;
    box-sizing: border-box;
}
.marquee span {
    display: inline-block;
    padding-left: 100%;
    animation: marquee 8s linear infinite;
}
@keyframes marquee {
    0%   { transform: translate(0, 0); }
    100% { transform: translate(-100%, 0); }
}
</style>
In the code, find and replace “YOUR CUSTOM TEXT HERE. IT CAN BE AS LONG AS YOU NEED IT TO BE” with your own text.
Find this line:
width:YOUR TEXT BOX WIDTH FROM STEP 2;
And replace it with your text box width from step 2. For example:
width:180px;
Don’t forget to add the ‘px’ behind the number!
You can control the speed of the marquee by adjusting the animation time here:
animation: marquee 8s linear infinite;
And you’re done! That was easy, wasn’t it?
If you liked the post, share it with your fellow ShowIt designers and developers. You can leave a comment if you have questions/suggestions.
Follow me on Instagram